An assessment in TAO consists of several building blocks: interactions, items, and tests. TAO has plenty of easy-to-use predesigned interaction templates to create your own items with.
An interaction is the most basic unit in an assessment. It's the part of a test item that requires the test-taker to interact with it, such as a multiple-choice question or another task type. Interactions form part of (test) items and cannot be used alone.
An item is a complete assessment question, made up of one or more interactions along with any supporting material.
A test is a group of items, together with information on how they are ordered and presented to the test-taker.
Follow the steps below to create a new item:
- Choose a location for your new item.
To do this, click on the Items icon in the Assessment Builder Bar. This opens the Items page, with the Items Library on the left.
The last item to be edited (either by you or a previous user) will be highlighted in the library.
Next, select the folder in the library in which you would like to store your new item.
- Create and save a new, empty item.
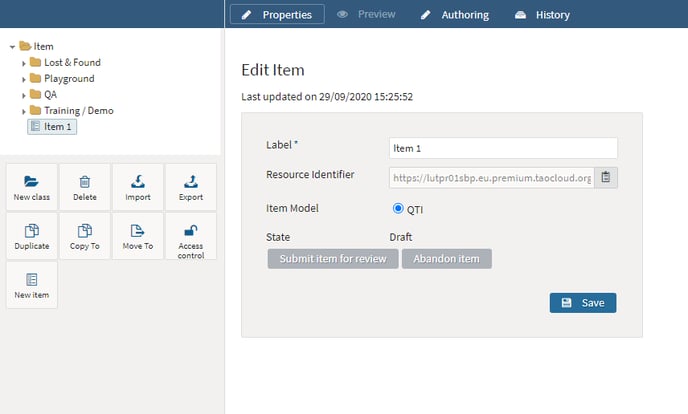
To do this, click on the New item icon in the button bank under the library. This will create a new item in the selected folder. There is an example in the image below.
Next, label your item in the space provided in the middle of the canvas, as shown in the image below, then click Save. This produces an empty item, which you can now fill with the content you wish - i.e. one or more interactions, and any supporting material you want to add.
- Add an interaction to your item.
To do this, click on the option Authoring in the Action Bar. This will take you to the empty Item you have created.
You can now choose and add one or more interactions to your item. In the library on the left, you will now see the Common Interactions catalog, and below this, a list of other types of interaction.
Note: The section on Interactions of the User Guide tells you about the different types of interaction that you can use in TAO. For more information on items, see the section Creating a Test Item in the User Guide.

Follow the steps below to compile your items in a test:
Once you have populated your item with interactions, you will need to build it into a test before you can use it in an assessment. A test can include one or more items.
- Choose a location for your test.
To do this, click on the Tests icon in the assessment builder bar. This will take you to the Tests page.
The last test that you, or the user before you, created, will be highlighted in the library.
- Create and save a new, empty test.
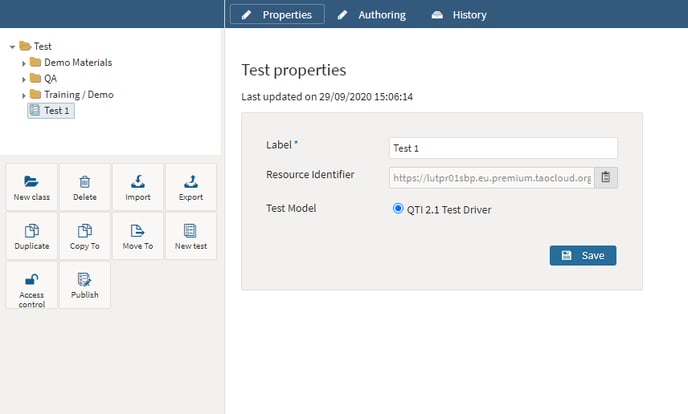
To do this, click on the New test icon in the button bank under the library. This will create a new test in the highlighted folder.
Next, label your test in the space provided in the middle of the canvas, then click Save. This produces an empty test, which you can now populate with items.
- Add items to your test.
Click Authoring in the action bar to insert items into your test. This will take you to the empty test you have created. You can now start to populate the canvas area in the middle with items.
Note: See the section Creating a Test in the User Guide for more details.

Note: Test-takers often want direct feedback about how well they have done in their assessment. Before you can provide test-takers with instant feedback on whether they have passed or failed, you need to configure the method of scoring for your test. See the section Providing test-level instant Feedback in the User Guide for more details.